MOLLE for civilians
Why would civilians bother about MOLLE straps on their gear? Well, you don’t have to, but they can make your bags a lot more useful if you know how to facilitate them.
But first of all, what is MOLLE or PALS? Read on.
What is MOLLE / PALS?
That topic is so important, we have a dedicated blog post about what is MOLLE. And another one on how to use PALS loops. Since there are these great posts I don’t want to repeat it all. Only this much: PALS is an acronym and refers to a standard (width and spacing) of loops of webbing. These loops are placed on bags and backpacks and on smaller items like pouches as well. The standard assures you can mount small items on bigger bags regardless of the brand of each item. There are several variants that are all interchangeable. Like some use straps sewn on to gear others have slits laser cut into the outer shell and the remaining fabric fits into to the standard.
MOLLE (also an acronym) is just a specific set of vest, backpack and pouches that used the PALS system in the beginning. But most people use both terms as synonyms.
I’m talking about civilian use of MOLLE because this system was intended for tactical professionals in the first place. That’s why you found it on plate carriers and ammunition pouches when it was introduced. This changed over time but not everyone is aware of that.
MOLLE for civilians – where to start
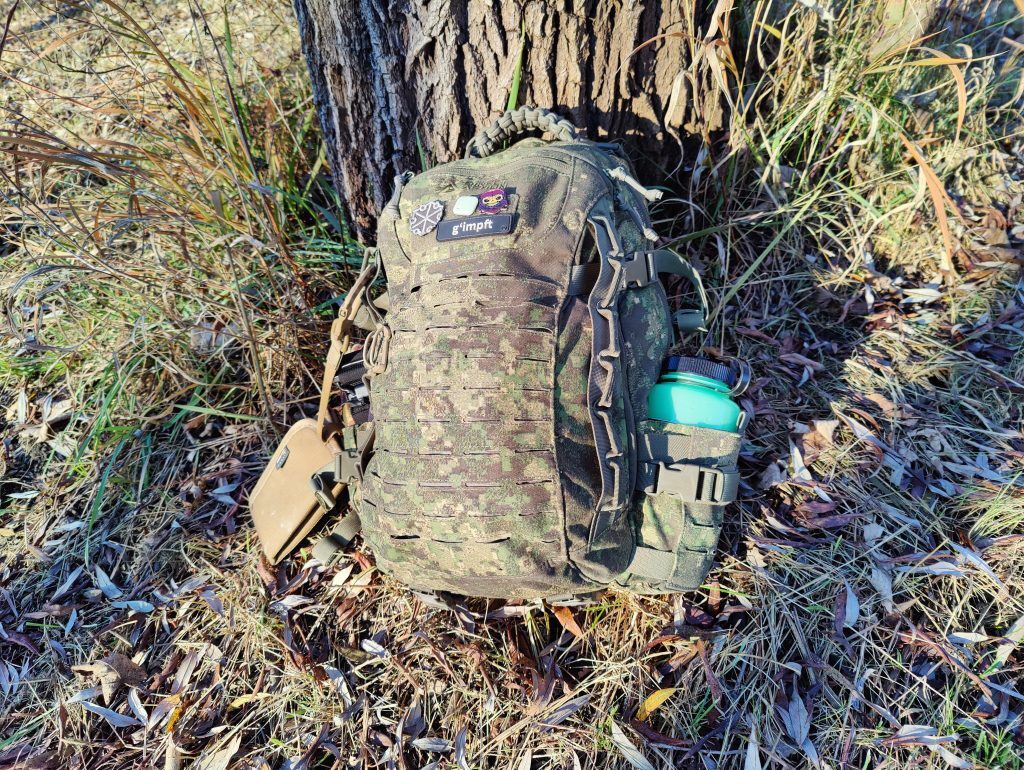
So what’s a civilian use of MOLLE? If you’re into tactical gear, even the more civilian looking “gray man” variants you will have realized that most come with PALS webbing. The less conspicuous looking “urban” variants sometimes hide the webbing under flaps or use laser cut loops. If you look closely you will find single straps to be the right size (1″ width), too.
Where to put your stuff
So the remaining question is, what do you want to put onto these loops? A nice rule of thumb is: “If you’re having a lot of stuff mounted on your PALS, you’re either a tactical gear enthusiast or you need a bigger bag”. In other words: most of the time it’s more comfortable to have your stuff in the bag than mounted on the outside. So next up are some ideas where it totally makes sense to fix your gear on the outside.
Stuff you need often or fast
One type of gear that might be better mounted on the outside are items you need quick access to. Lot’s of gear comes with MOLLE compatible sheaths. Multitools, emergency shears, flashlights, knives etc. there are many tools that come ready for mounting.
If you carry first aid equipment, and you definitely should, you will need quick access to it. There are many specialized pouches for first aid kits and tourniquets available.
But even if you don’t think about emergencies it can still be useful to have things you need regularly pinned to the outside. For bushcrafters that could be navigation gear. But think outside the outdoor box. There are many “admin” pouches you can use for technical equipment or things you need in a meeting. (Think power bank, phone charger, pens, USB sticks etc).
Make extra room with civilian usage of PALS
Most PALS compatible gear is built to hold on to the platform like it was sewed on. Nevertheless in recent years more and more connection systems focused on easy mounting and dismounting. So you can change your setup on the go. Why not use pouches for organization inside your backpack? Some brands bring connectors on the inside but even if you don’t have them, just put your stuff in pouches and then put them in your backpack. When you’re around and suddenly need extra space, like for grocery shopping on the way home from work, you can mount your pouches on the outside and you have lots of extra free space available.
Think beyond pouches
Who says you can use MOLLE just for pouches that were made to connect? Basically it’s a lot of webbing you can use for a huge amount of other uses. There are lot’s of things you can just slide behind the loops and have them secured. Just make sure you won’t put anything really valuable on the outside of your bag because it might get scratched over hard surfaces or get stolen. But things like cheap ballpoint pens, chemlights, etc work perfectly. Some knives and flashlights will work, too (remember they can get lost, if you’re not securing them)
Mounting hardware
Speaking of securing items – there are carabiners that fit PALS loops. There are even carabiners and other mounting gear that was specifically made for PALS loops. Like Grimloc or Web Dominators.
These are all small connecters that will securely weave into MOLLE webbing of every kind and provide some sort of mounting option.
Grimloc is a small but very tough carabiner that will securely grip to a PALS loop even when open. Use it for important items you need to put away for a short time. Ideal to mount gloves to your pack. This way they’re alway available when you need them.
Web Dominator provides a short loop of shock cord which can be unlocked and easily replaced. Initially created to tackle slack of one inch webbing. They can be used to mount everything that’s light and needs to be held. Like cordage, tubes etc. They are also perfect to hold an activated chemlight because they keep it steady but don’t cover it.
Using MOLLE for civilians for weaving
Using shock cord or para cord to mount bigger items on MOLLE for civilians is a great idea, too. You might combine them with cordage stoppers or get creative with knots.
Remember, PALS is just one inch webbing. So you can buy straps of any length, weave it through your loops and use whatever buckle you want to fix it. This will allow to enhance the space you have in your way by a big amount. Carrying systems usually work great only in a certain weight range but if you have bulky tarps, jackets or similar items, this will work great.
You can even mix variants: Some huge knives come with sheaths with tiny connectors. That might work well if you mount them on a belt but on a backpack they keep dangling. So use some cord to secure the lose parts.
Mounting MOLLE gear on non-PALS equipment
You can weave most connectors on the backside of pouches so you can accomodate for pants belts. Same goes for carrying straps on bigger bags. And for extra stable mounting plus extra comfort, Helikon-Tex has the Belt-Molle-Adapter.
Get creative
There are endless connectors you can use. Some are especially made to fit into PALS like QASM buckles. But DIY product categories hold loads of things you can use to build your gear like you need it.


How to chose MOLLE for civilians
First, you need something to mount your stuff on. So make sure, you have PALS loops on your bag or backpack. Most brands in the tactical gear bubble have MOLLE everywhere. And most of them focus on one variant. For example: While Direct Action mostly uses laser cut MOLLE, Wisport goes for classic straps on most items. Both work and I already linked to a post explaining the differences. Here again, in short: Laser cut does look less tactical, doesn’t break color or camo patterns and is lighter. On the other hand it’s not as easy to weave and may be a bit less tough. Classic straps look very tactical, may disturb camo patterns but are virtually unbreakable.
Then look for what you want to mount. Above you find plenty of ideas, start with trying some smaller items and pouches for stuff you want to carry around most of the time. Then you can expand your pouches collection and try other combination. Rebuilding your setup now and then can be a very satisfying experience.
Just make sure you have a look at the backside of the items you’re going to purchase. Some brands bring the PALS loops but don’t have built in connectors. There are extra connectors you can choose from but you have to buy them extra.